Archived: How to: Chalk Board Wall on Kitchen Cabinets
My kitchen has a large floor to ceiling cabinet that fits the refrigerator inside. I decided to diy the open side with a chalk board wall. Here’s how I did it, and mistakes to avoid.
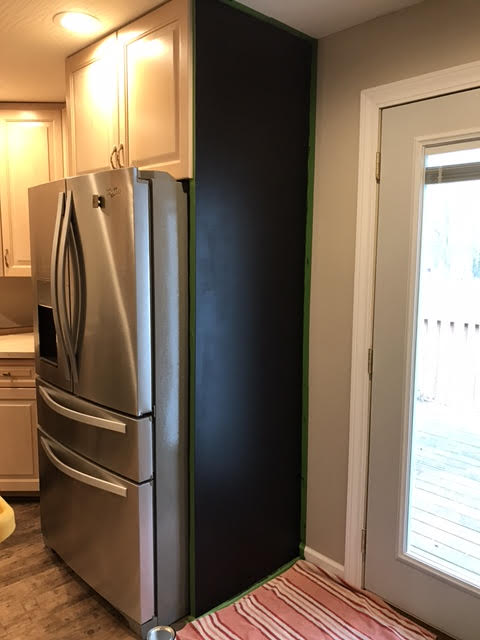
Cabinet wall before turning it into a chalk board wall.
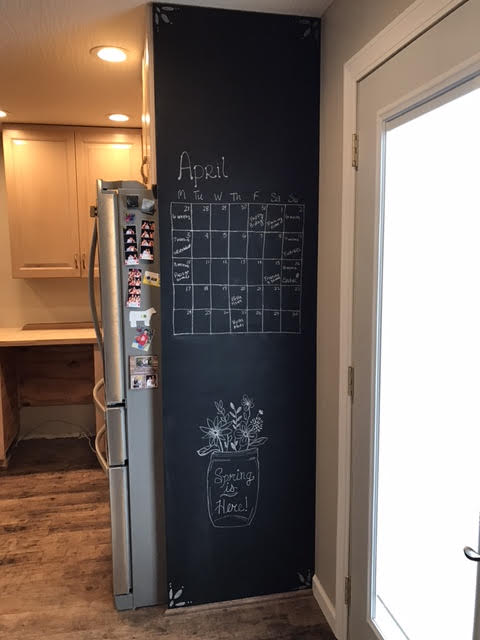
After diy chalk board paint.
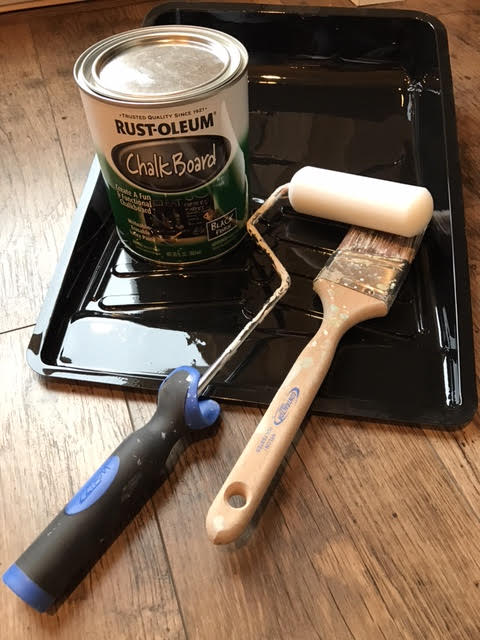
Supplies
- Rust-oleum Black Chalk Board
- 4 in or 6 in paint roller specifically made for cabinets
- trim paint brush
- painter’s tape
- paint bucket cover
First Steps
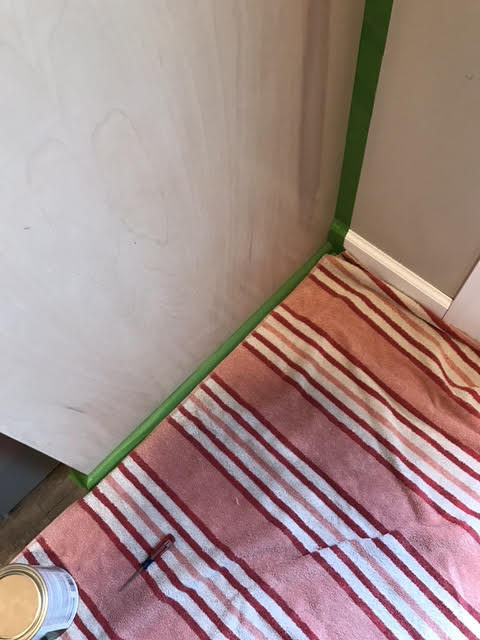
Start by taping off edges around wall, floor and ceiling with painters tape. I also placed an old towel on the floor as extra protection against drips and spills.
Sanding
This step is really important. Use steel wool or fine grit sand paper to sand the area you are going to paint. My cabinets have a finish on them. Sanding down this finish, even just a bit, will help your paint cure better.
Painting
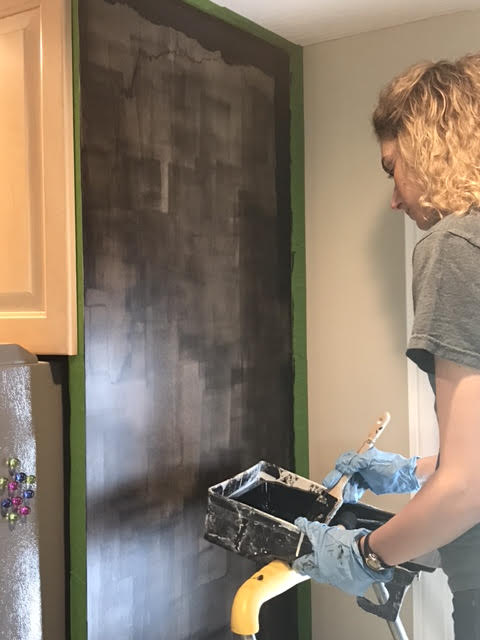
First coat of chalk paint.
Roll the chalk board paint on and blend in with the trim brush for the edges close to ceiling, floor and wall. The first coat of paint will appear very streaky.
Tip: Use large passes of paint from floor to ceiling to avoid roller marks/streaks.
Fourth coat of chalk paint.
It took quite a few coats to cover the cabinet. But each coat dried very quickly. By the fourth coat of paint I was happy with how it looked.
Prime
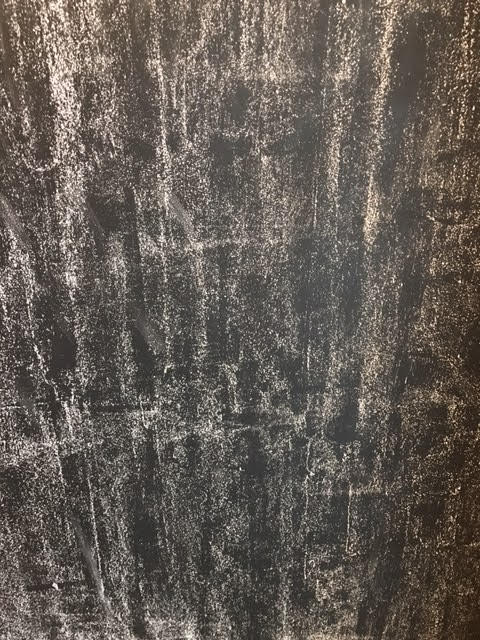
This is the most important step! Prime your chalk board by using the side of white chalk and running it over the whole chalk board. Then wash it off with a damp towel. This will prevent the board from leaving marks from the first words or art you create on your board.
*Tip: Avoid dustless chalk to prime. Use regular white chalk. The dust is what helps prime the board. I used dustless chalk to prime and ended up leaving scratches.
Create
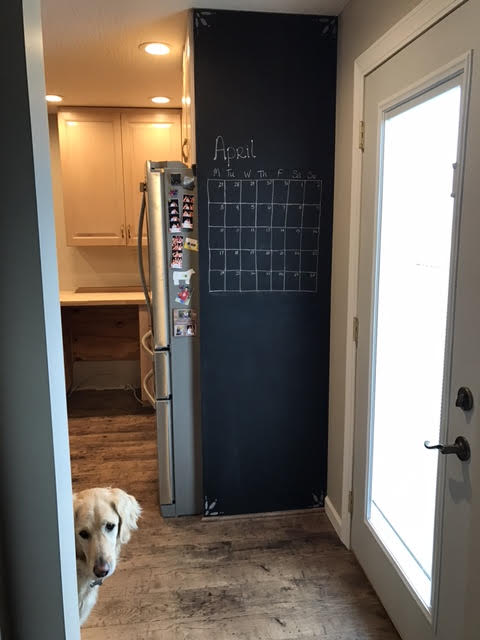
Final result.
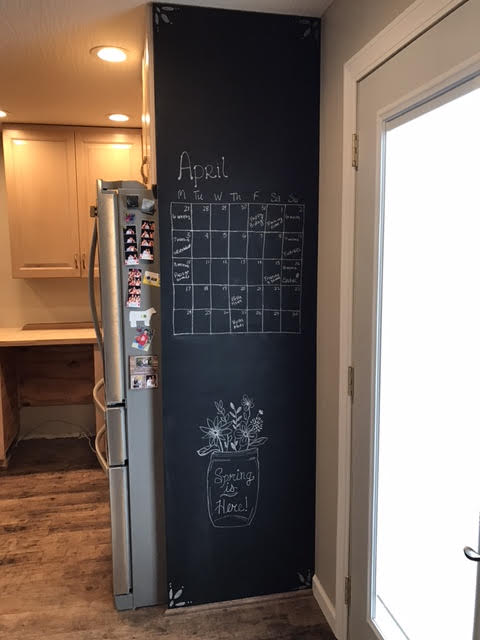
Add the finishing touches.
filed in:

