


Archived: How to Make an Instagram Wall
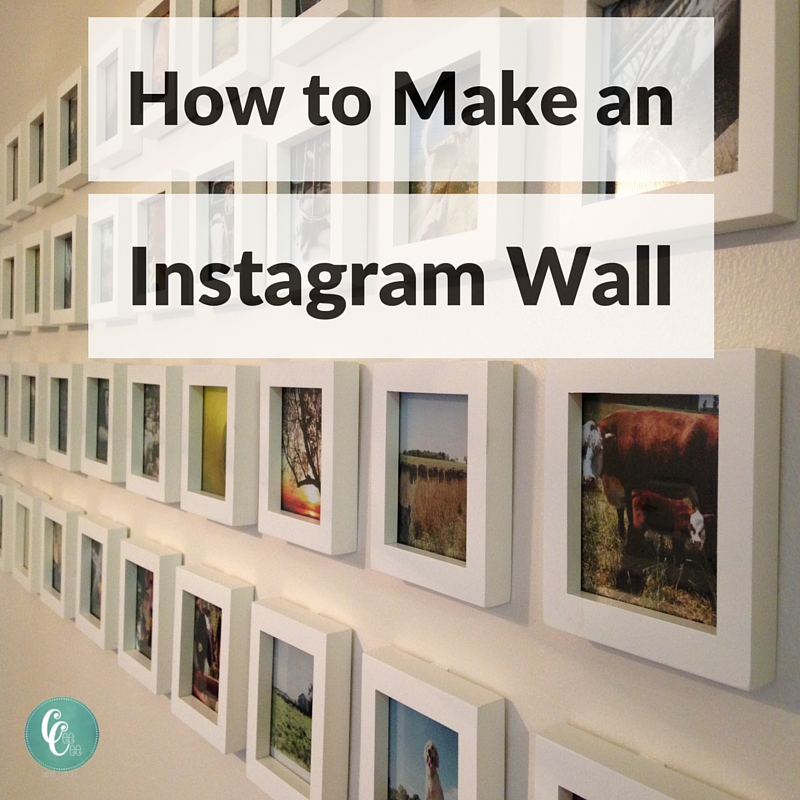
Learn how to display your favorite Instagram photos!
1. Order prints
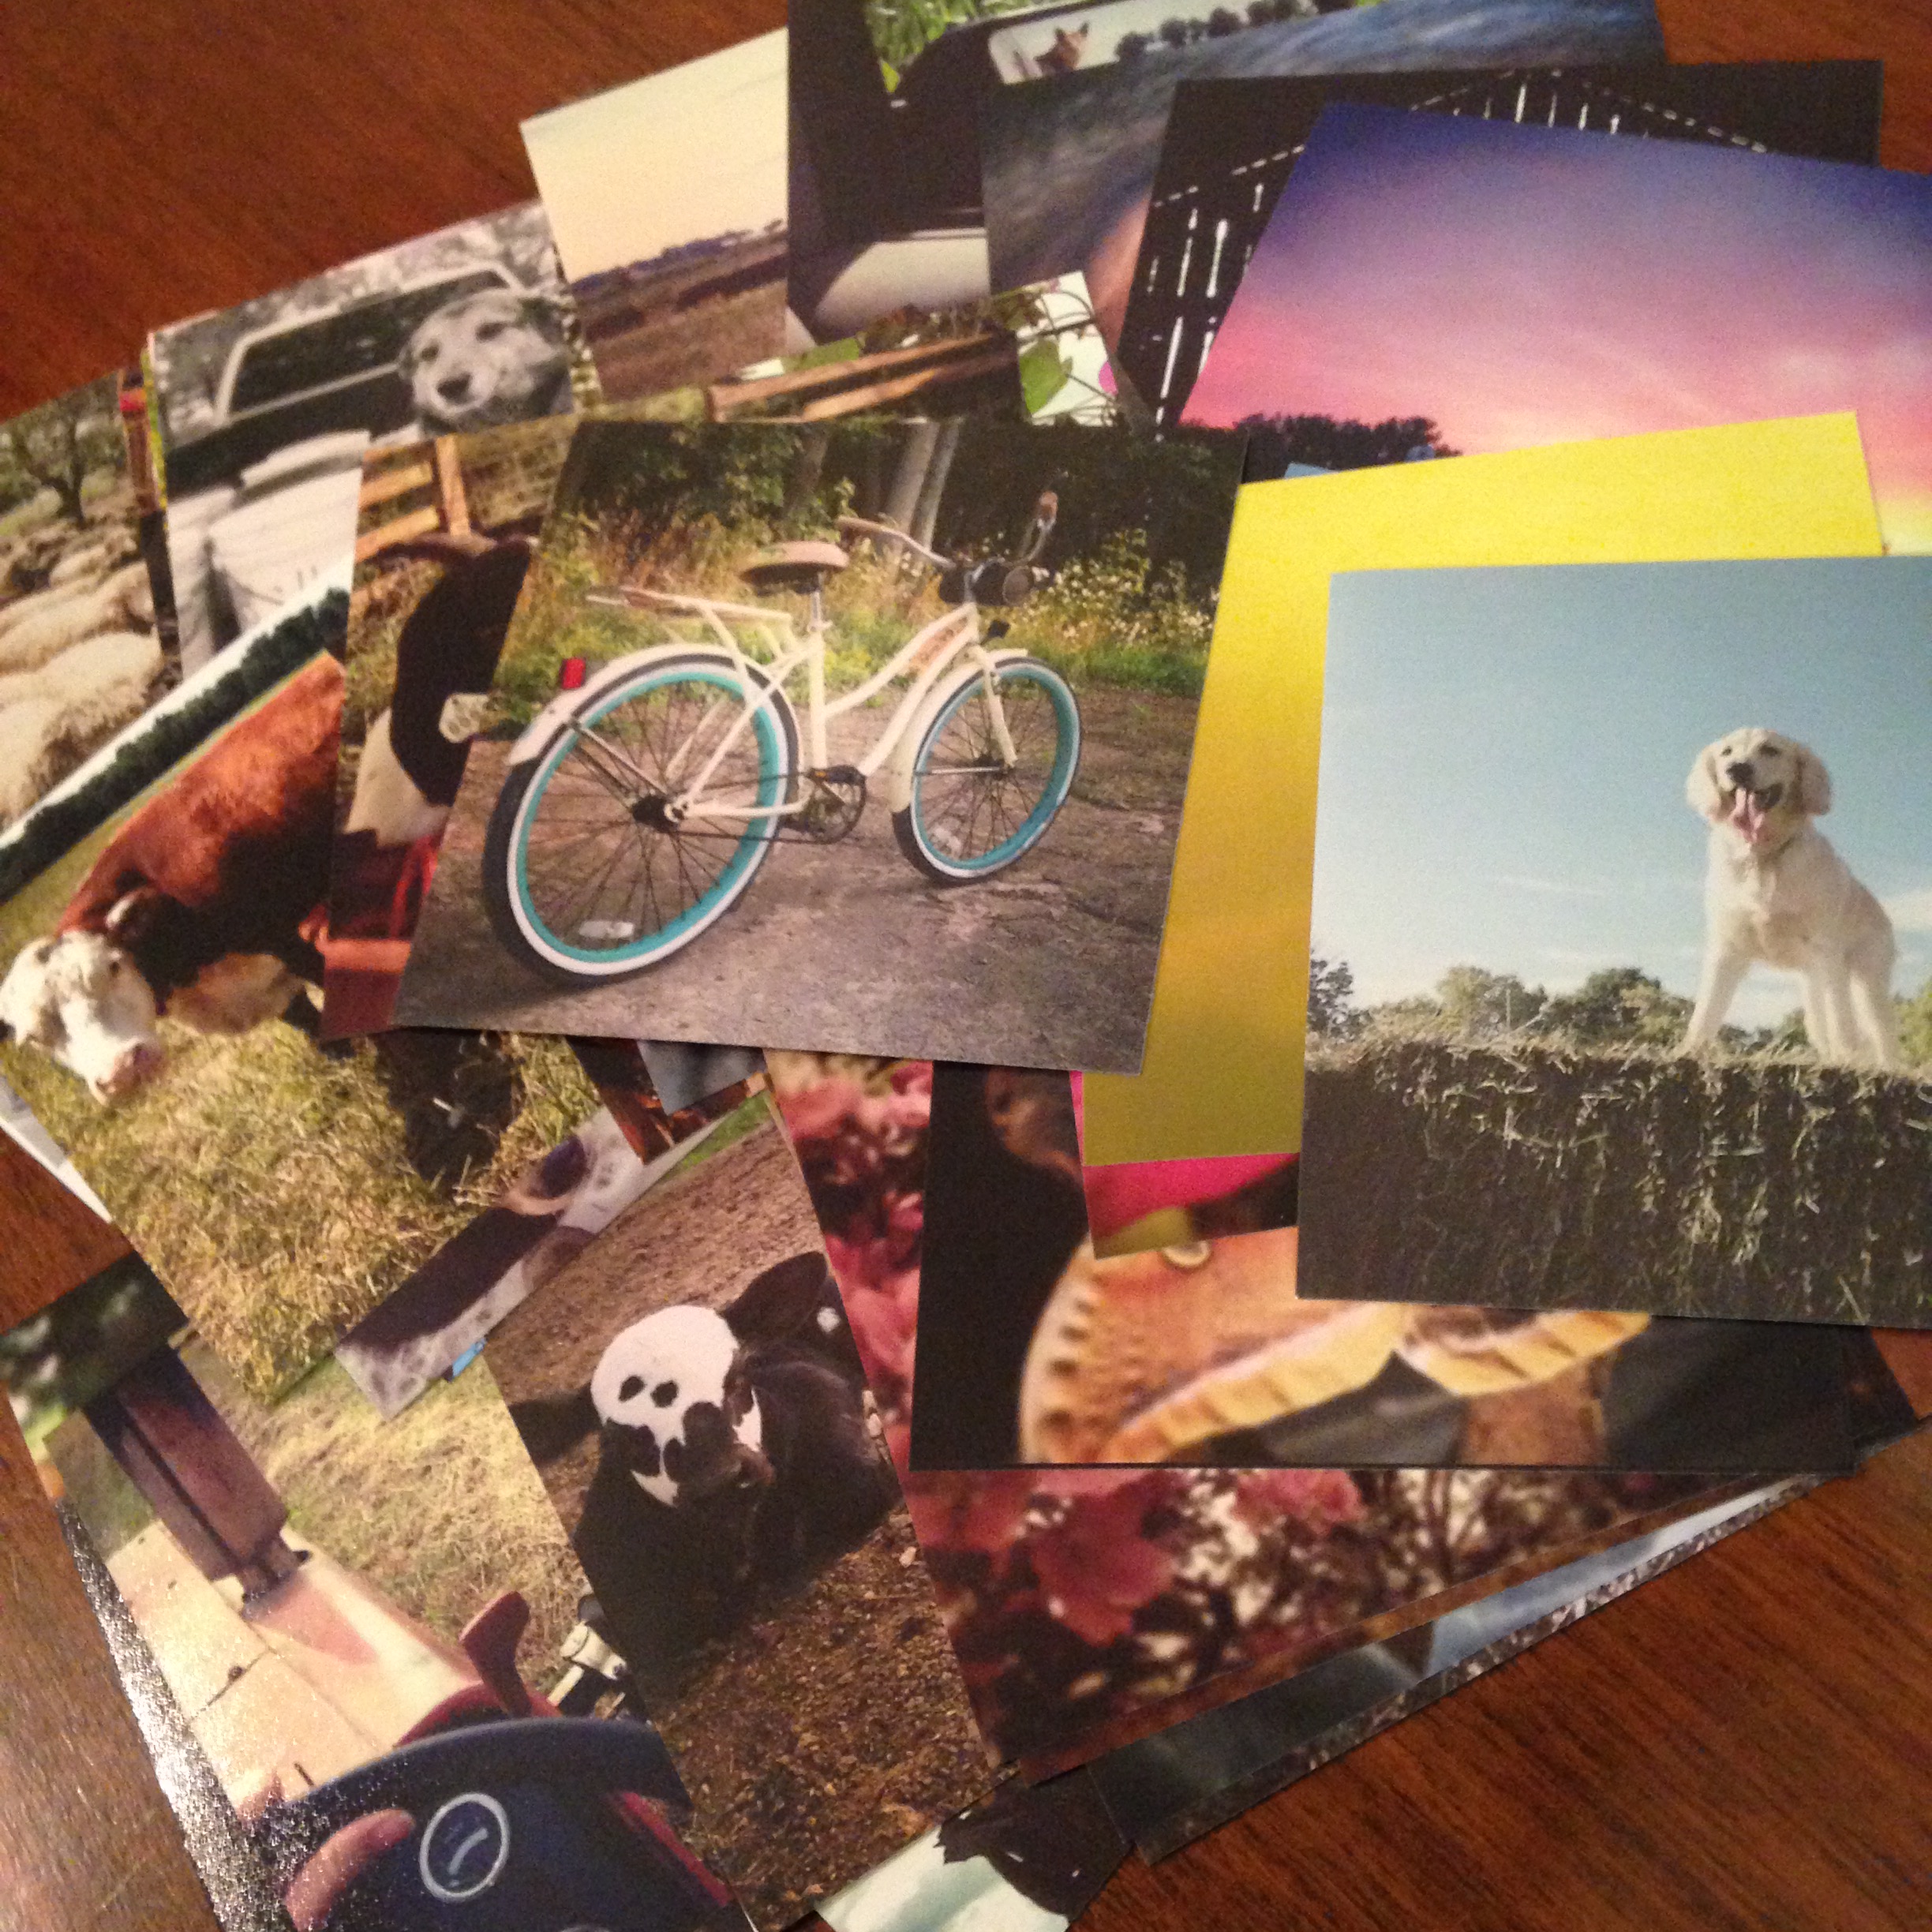
You can upload your Instagram pics right from the Shutterfly app and have them shipped to your home. All prints are free and you only pay for shipping. I ended up ordering over 50 photos to choose from for my Instagram wall.
2. Order frames
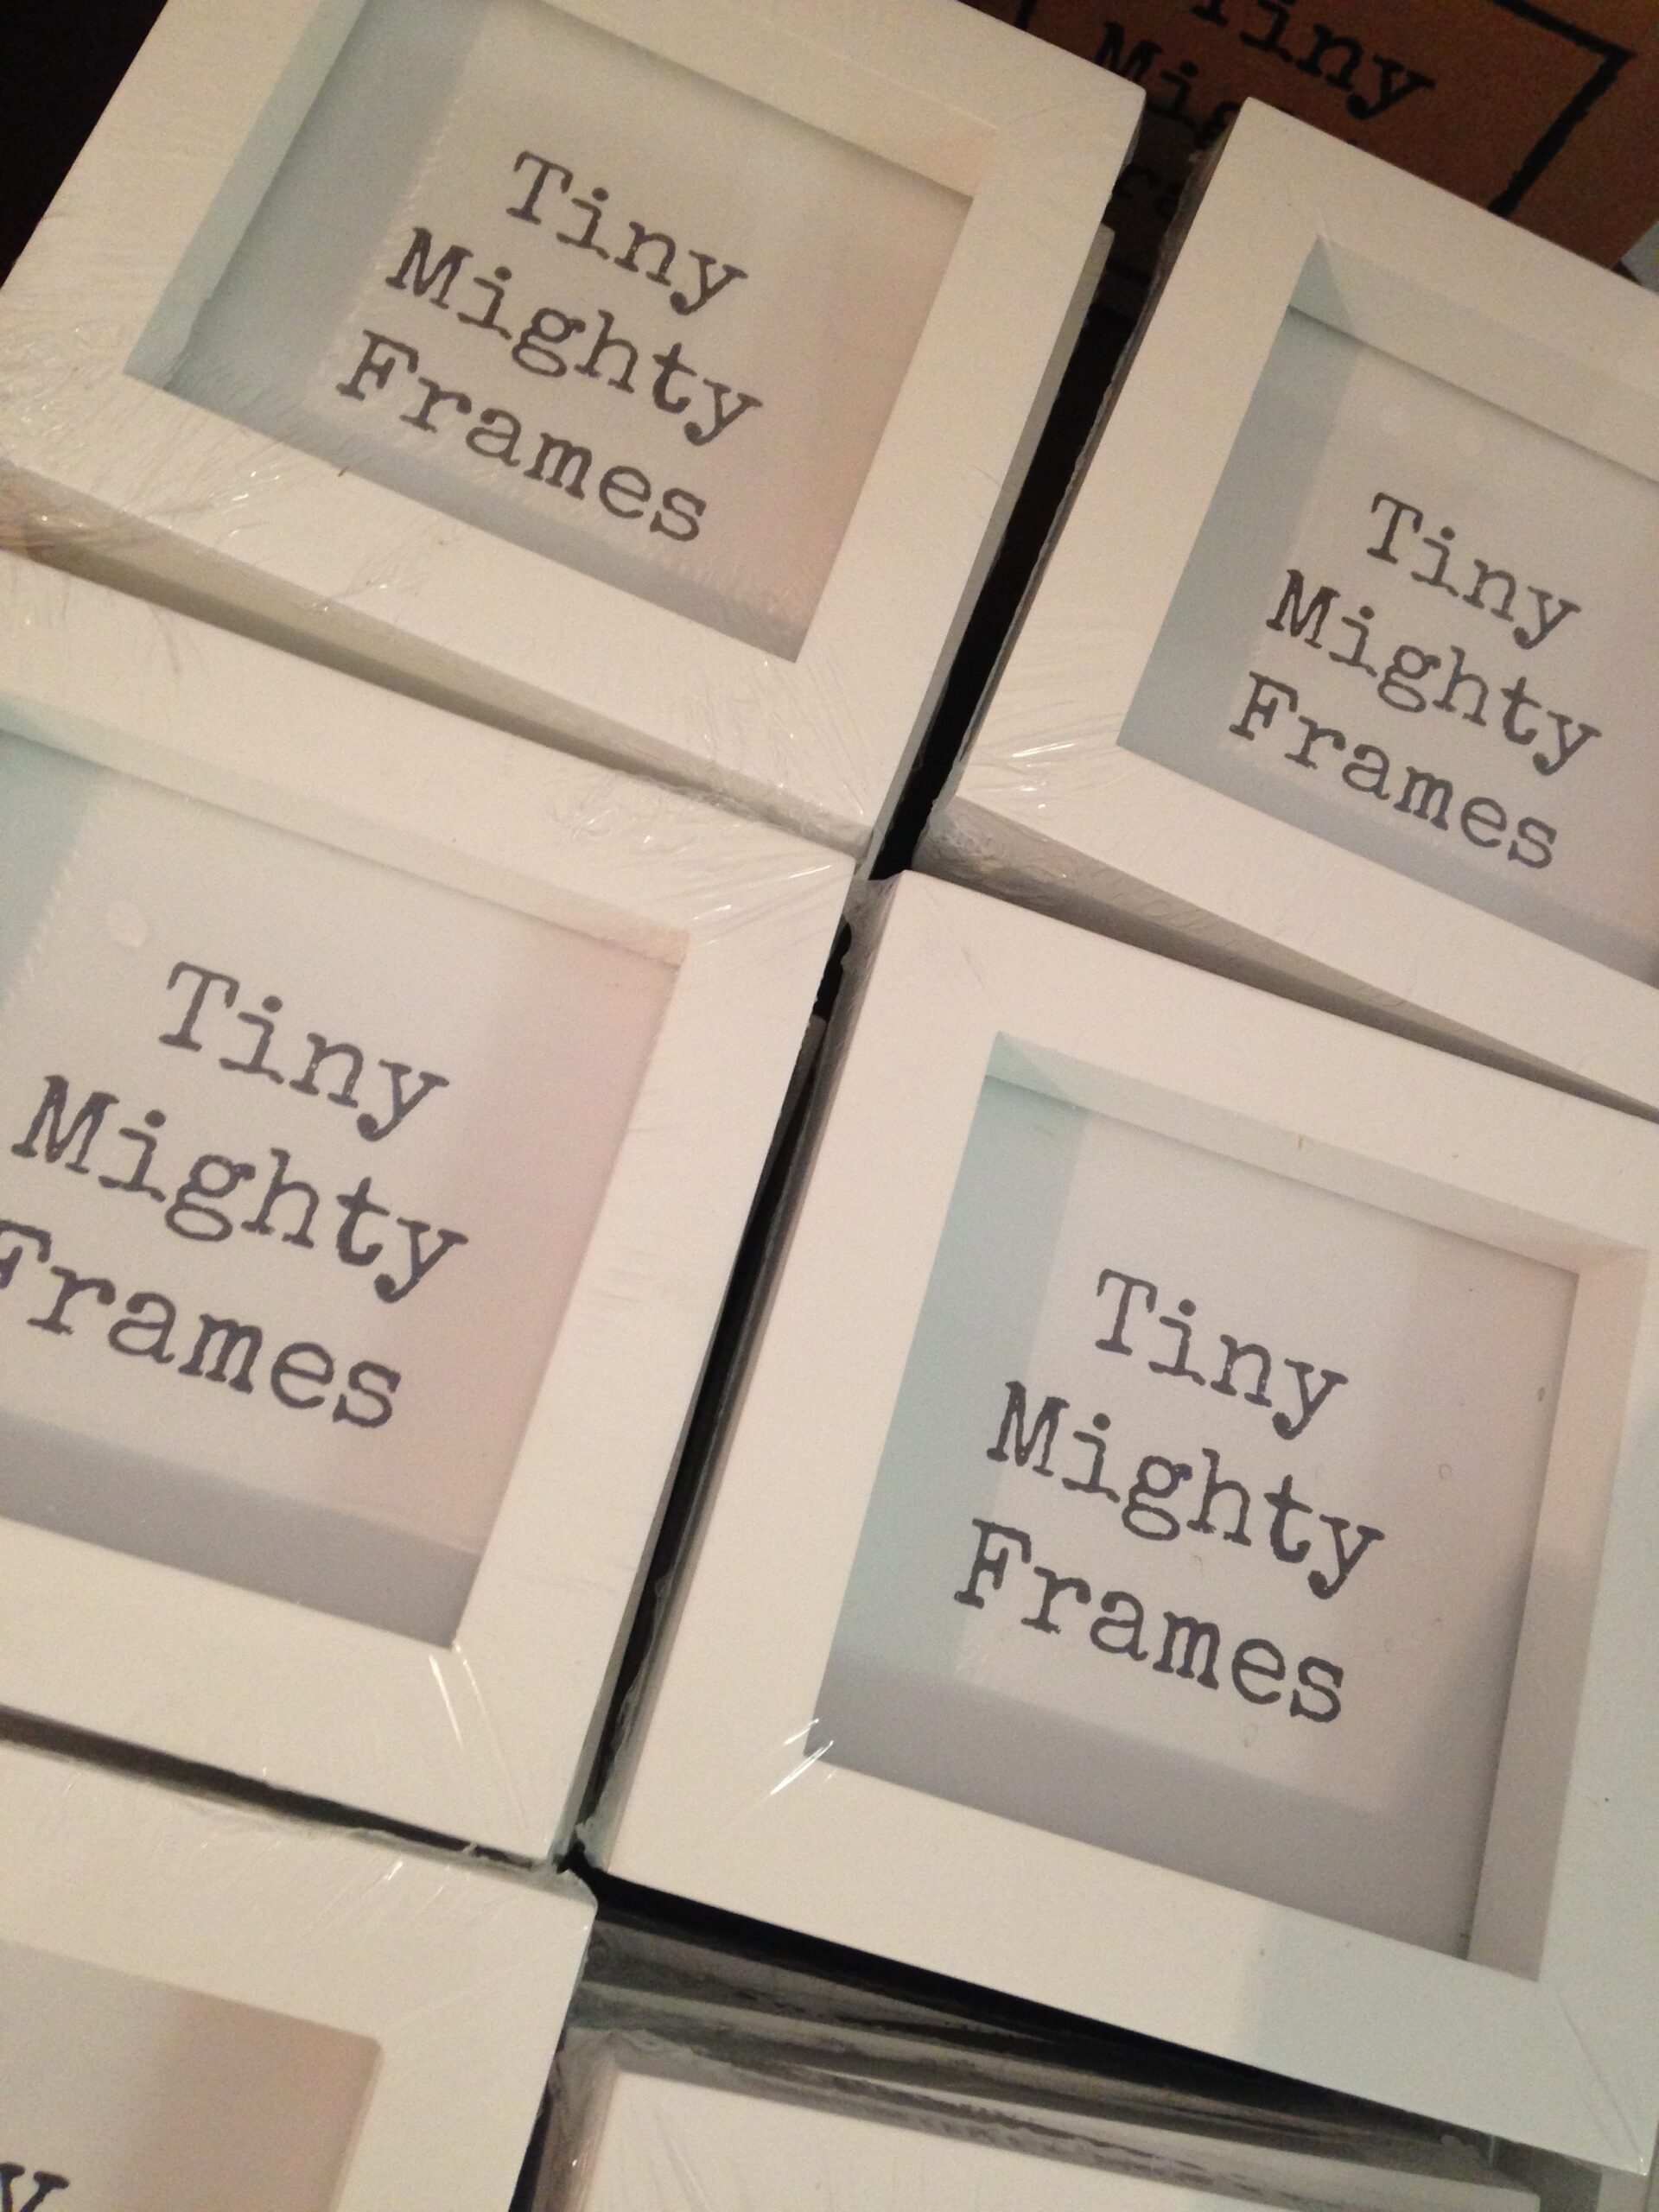
I chose to order frames from Tiny Mighty Frames – a company that makes frames to specifically display your square Instagram photos. Choose from white, black, matted, or non-matted. I ordered two 20-packs of frames for a total of 40 frames with plans for displaying 40 images on my wall.
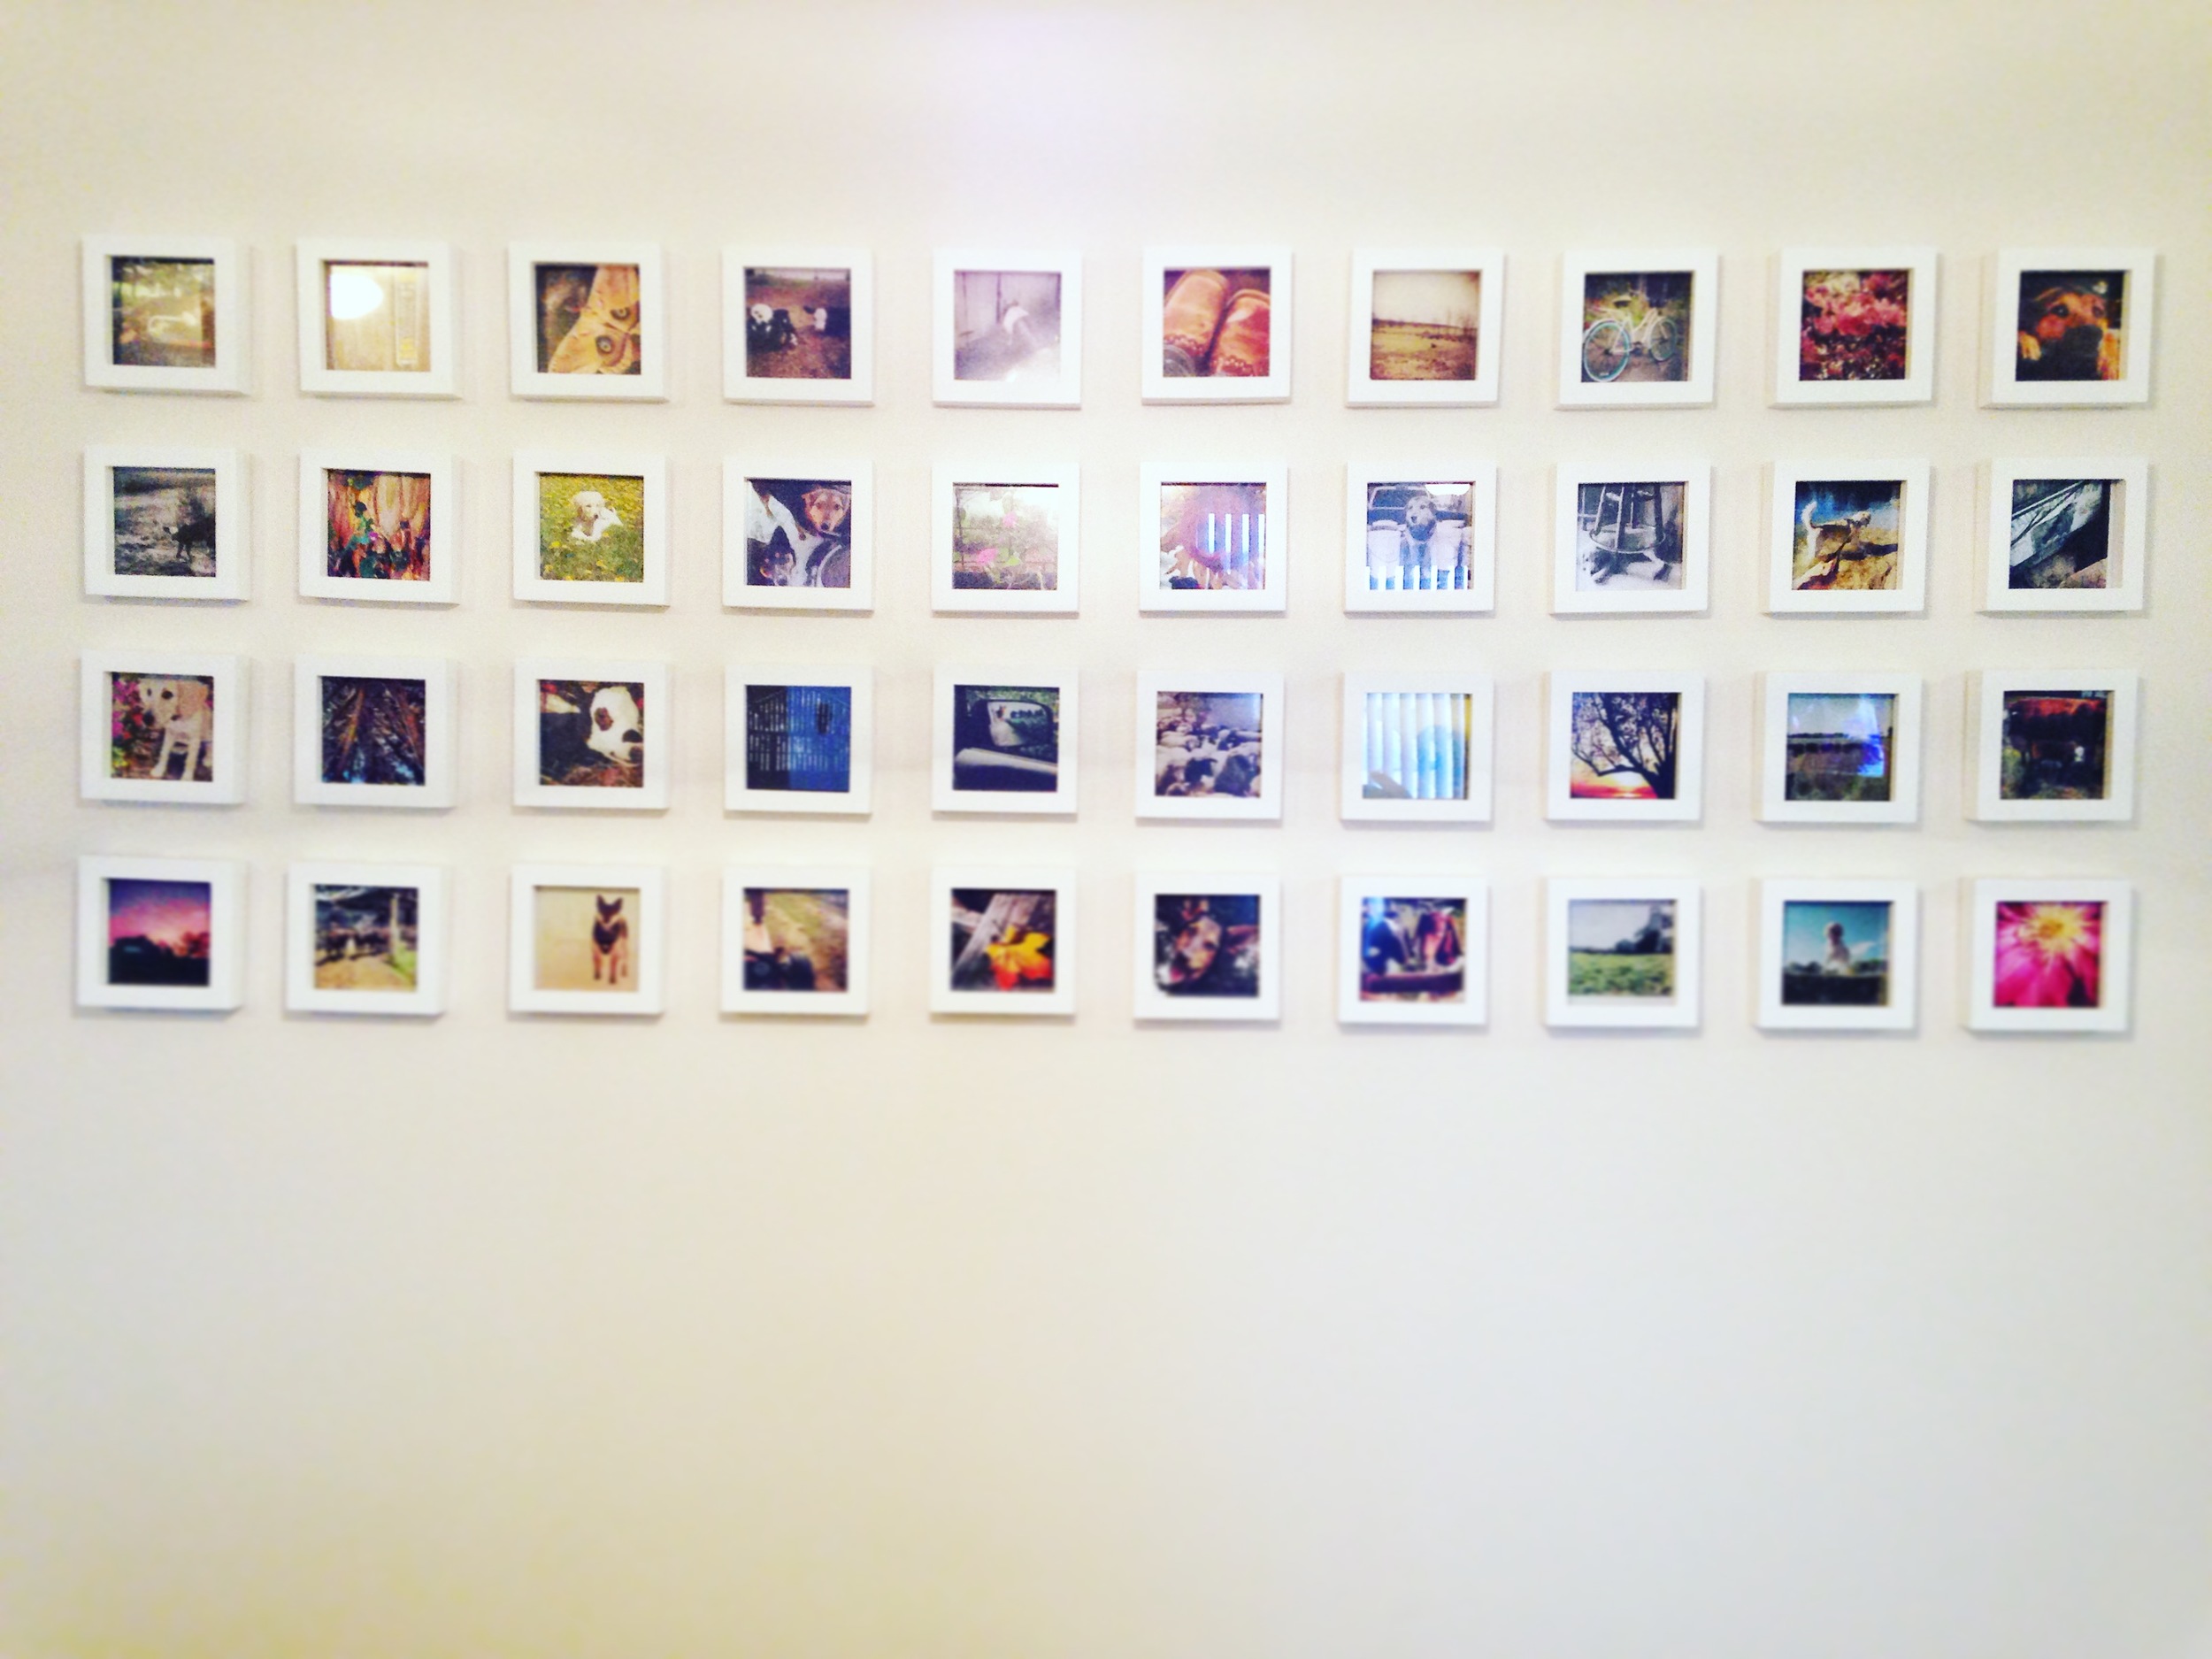
3. Lay it out
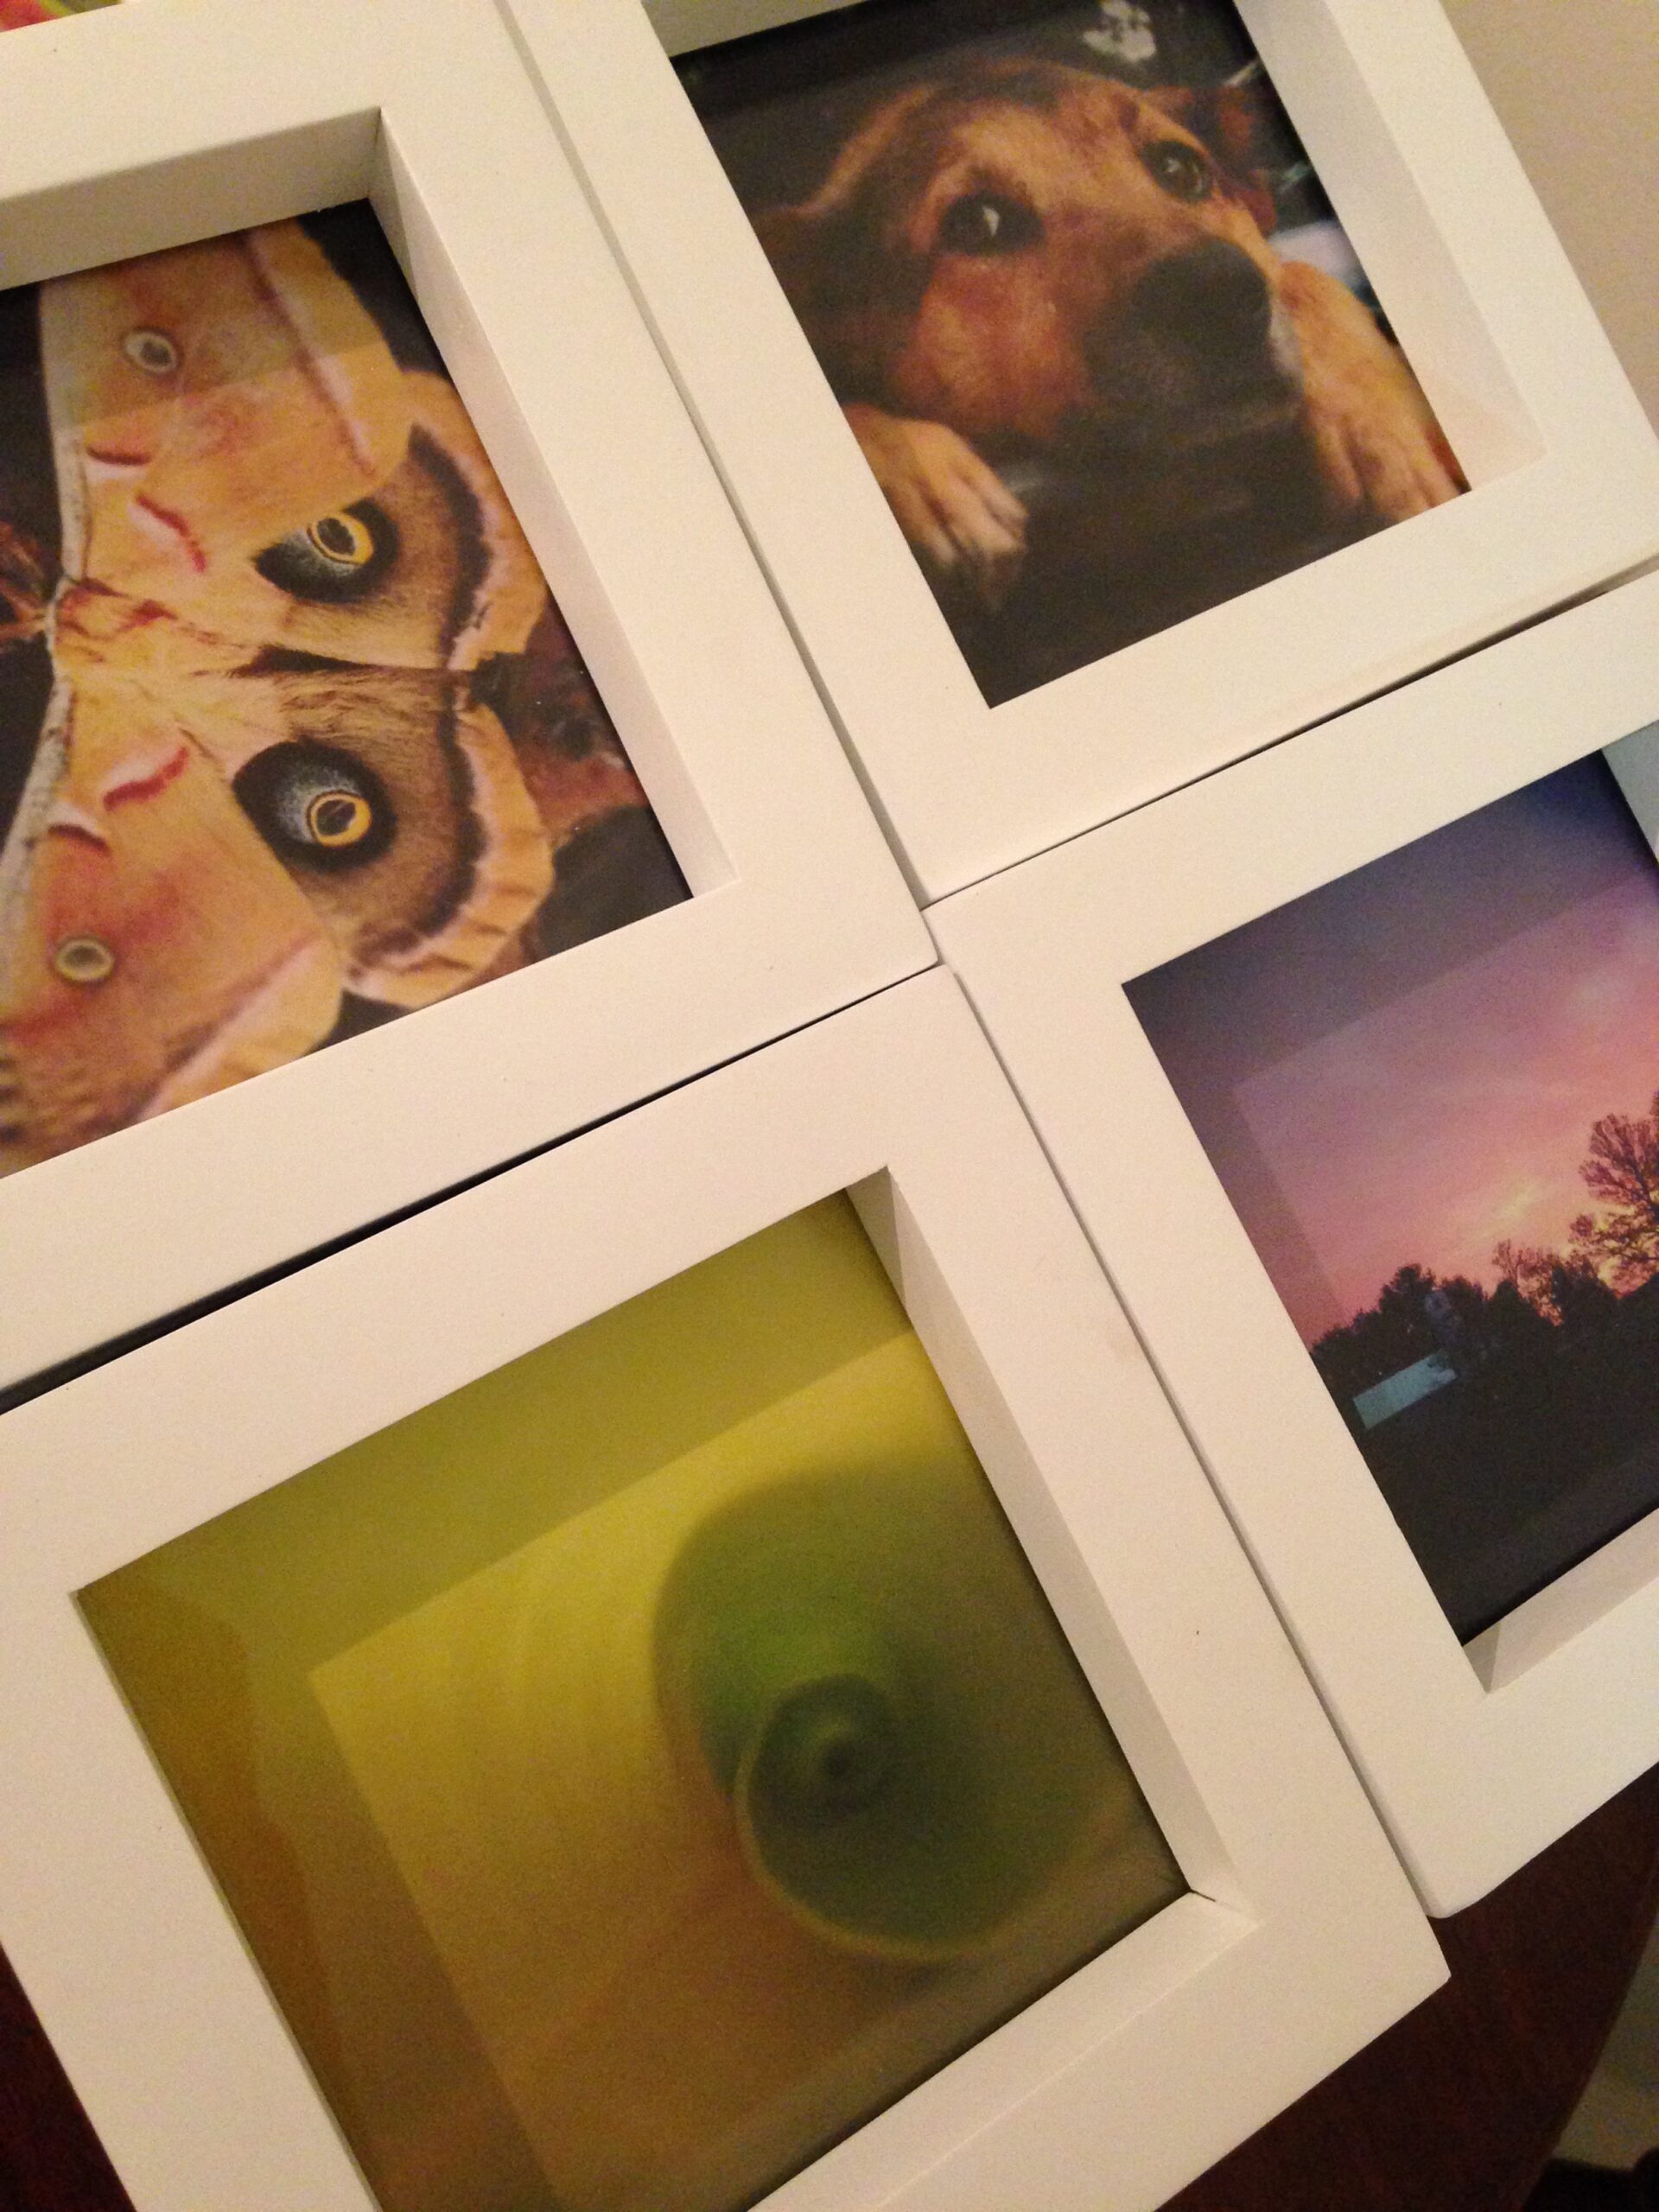
Once your prints and frames have arrived you can insert the photos you want to display in the frames. These frames are easy to change pictures in and out of. I laid my frames out on the floor and rearranged them the way I liked before hanging them.
4. Measure
This step will depend on the length and height of your wall. For my Instagram wall I started by measuring the length of my wall. Next, I found the middle of my wall from its length and marked this with a pencil. I knew that with rows of ten photos, each side of the middle of the wall would have five photos on each side. Once you’ve found the middle, determine how much space you want between your frames. I choose to leave a two inch space between each photo. Next, I determined how high I would want the first row of photos to be and began hanging them.
5. Hang
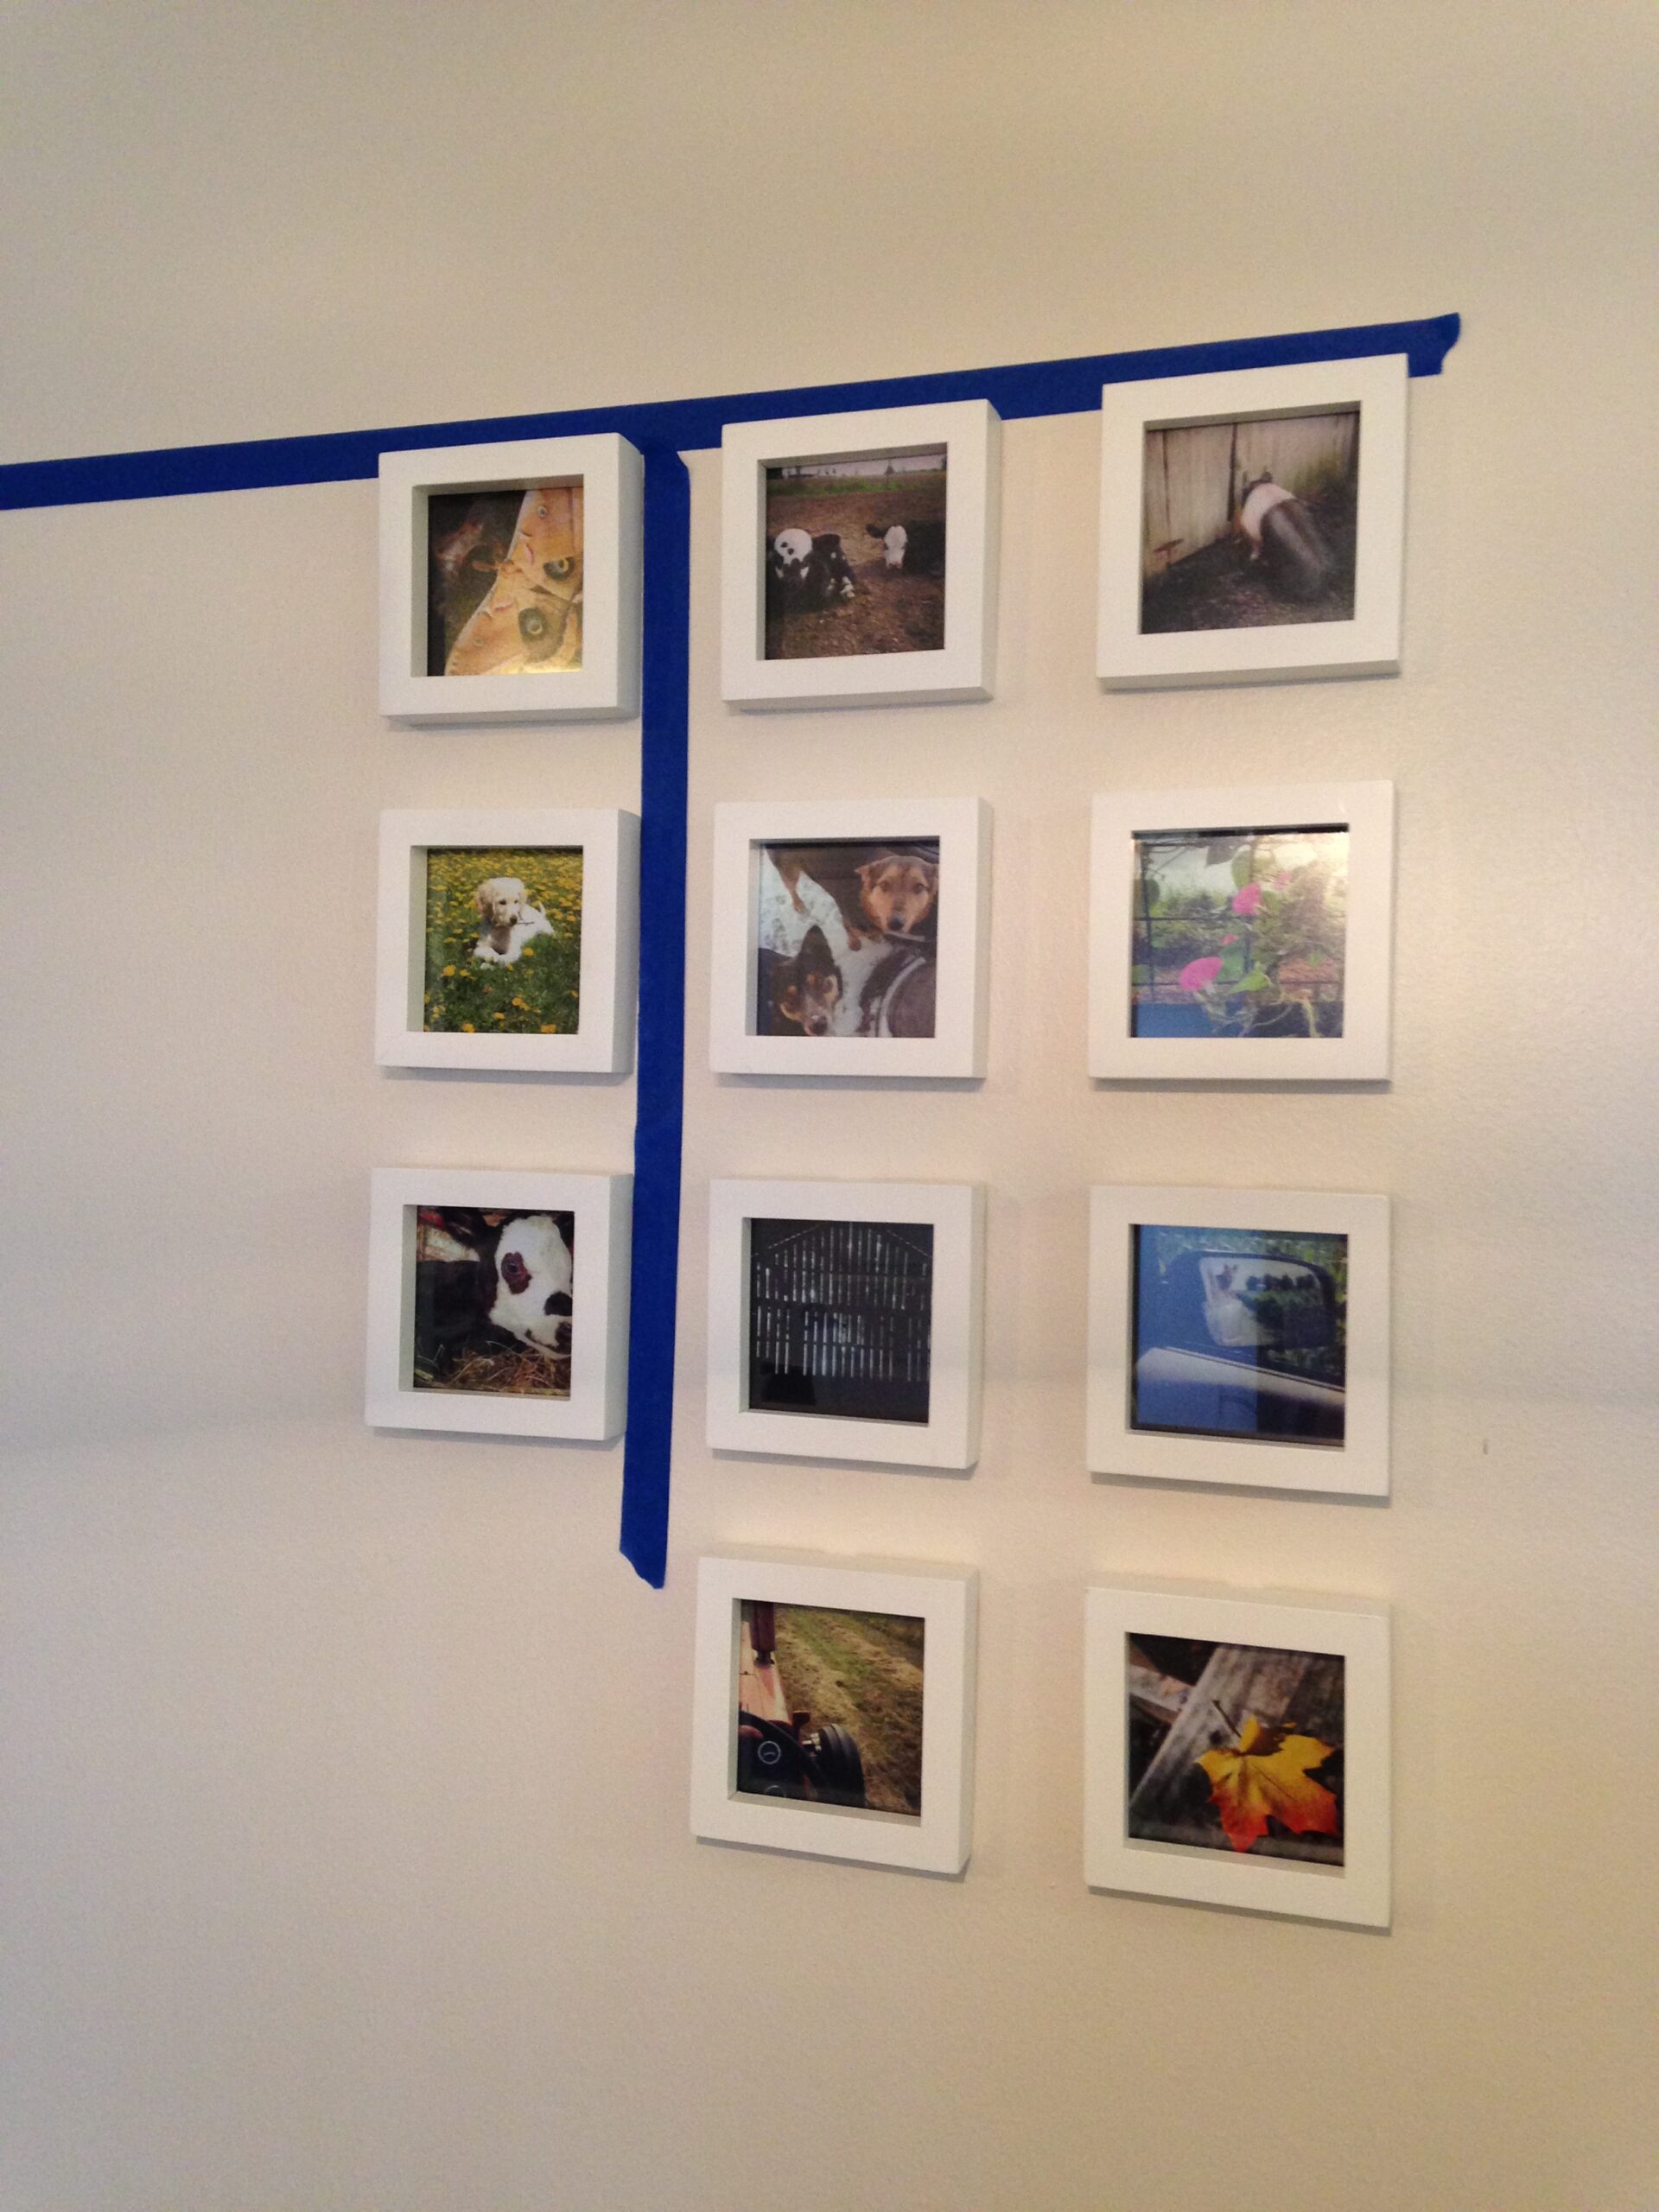
The Tiny Mighty Frames can be hung by nails, but I used command strips to hang my photos. I began hanging by columns, measuring two inches from the bottom of each photo and using blue painters tape as a guide to help keep them straight. This part takes the most time… but once finished, enjoy your new personalized Instagram gallery wall!
6. Enjoy!
Sierra Heaton is the owner of CeeCee Photography.
filed in:
