


Archived: Guide to Uploading Photos for Facebook Pages
Facebook now offers options when you want to upload photos into a post. One of those cool new options is the “Create a Photo Carousel.” But too often I see Facebook business pages using this option for the wrong reason. Not to mention, most with blurred images, not optimized for the web. So let’s clean up those photo posts and get your page looking its best!
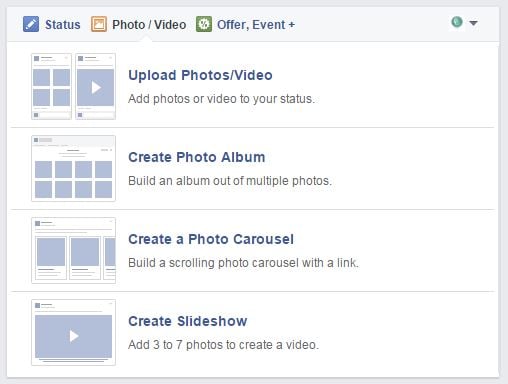
Your Options
The more options the better, right? … Well sort of. You should choose wisely. Here’s a few tips on how and when to use each option… But before we do that, let’s talk about optimizing your photos for the web. In other words, making your photos look best when viewed on a desktop, tablet or phone.
Image Guidelines
There are numerous cheat sheets, like this one from RebekahRadice.com, that will guide you in determining the right dimensions for any of the photos you use on your Facebook page, and for all social media image sizes for that matter. But I’m going to focus strictly on photos you post to your Facebook page timeline.
First, start off by making sure your images are saved as JPEG in RGB color mode with 72 or 96 pixels per inch with width and height dimensions at or above 940 x 788 pixels (the standard pixel dimension of a Facebook post).
If you are exporting your images from photo editing software, such as Lightroom or Photoshop, follow these guidelines:
- Image Format: JPEG
- Quality: Max
- Color space: RGB
- Image Sizing: 1500 x 1000 pixels
- Resolution: 72 ppi
- Sharpen for: Screen, Amount: Low
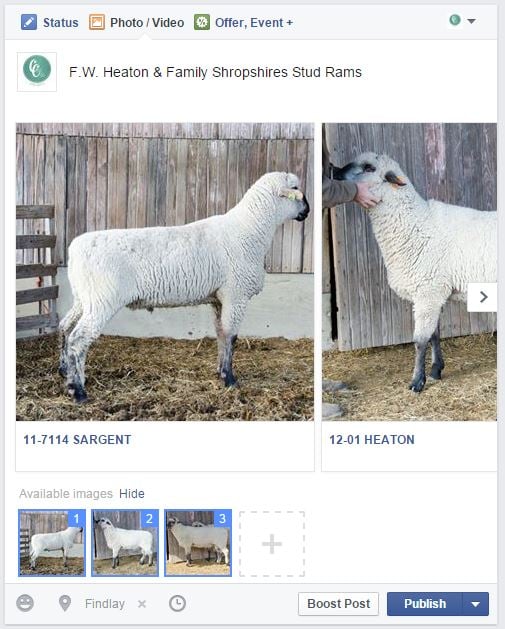
Option 1: Upload Photos/Video
Upload just one, or multiple photos with this option. Clicking on this option will take you to your computer’s files. Locate where you have your photos saved and choose one photo or numerous. Tip: Hold down the Ctrl button on your keyboard to select multiple photos at once.
Uploading one photo will look like this:

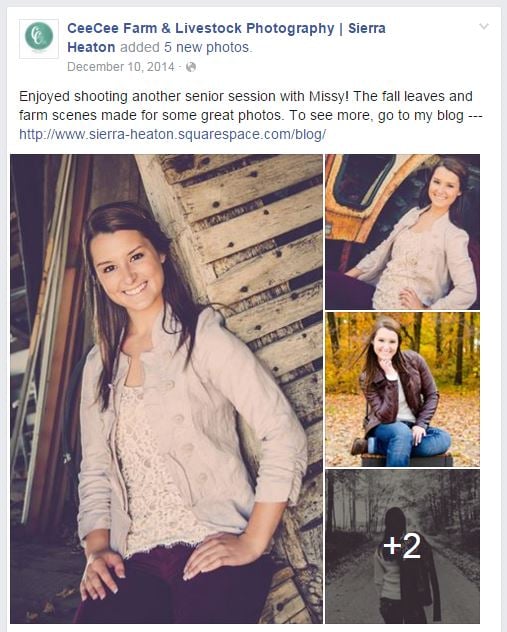
Uploading multiple photos will give you something like this:
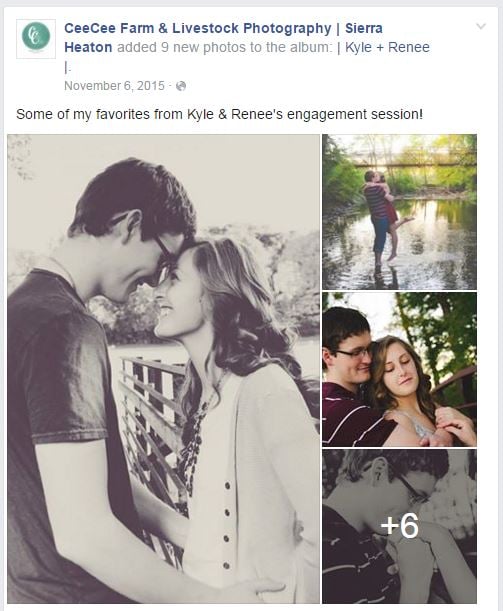
Option 2: Create a Photo Album
If you want to show off lots of photos, create a photo album. These photos get saved to your photo albums, unlike the first option, which show up as timeline photos. For example, I created this photo album of an engagement session I did.
When you create a photo album you will be prompted with this page.
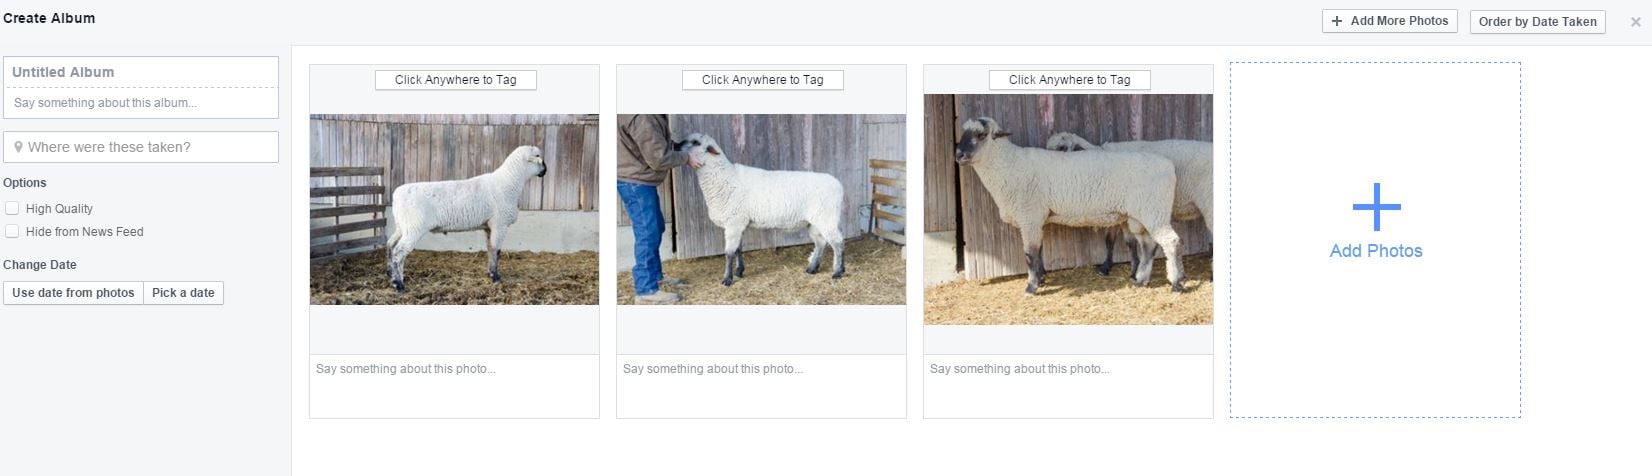
Title your album, and “say something about this album” – this text will show up on you’re timeline post with the photos.
Option 3: Create a Photo Carousel
This is a new one. I recommend only using the carousel feature if you are using it as an advertisement. Here’s an ad I did using the carousel feature:

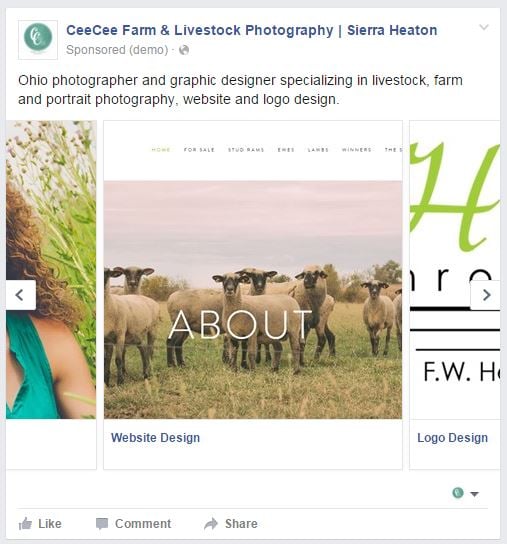
Notice I used different images to feature different aspects of my business and ended with a call-to-action for my last photo card.
If you want to use the carousel feature on your timeline, start by uploading three different images, give each a different headline and type text into the status update. Tip: Apply a destination URL to all your cards to link the photos to a website. In this case I used HeatonShropshires.com
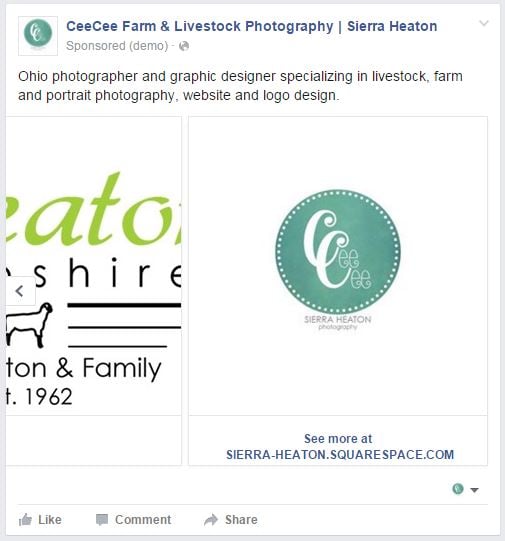
Here’s how this feature can be unappealing… When using a link in your status update, the carousel feature automatically finds three pictures for you, possibly not always with the best resolution, and doesn’t change the headline for each different photo card. Don’t just post without tweaking a few things. If you happen upon this problem, know that you can de-select the photos from appearing in the status update and even change out the headlines.
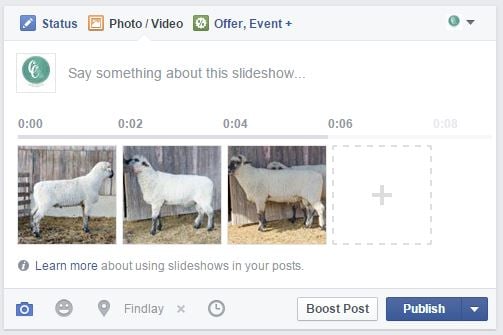
Option 4: Create Slideshow
Upload photos as a slideshow and they will play as a video. This option is usually geared towards advertisements as well, but definitely something new to try! When your video is ready you will get a notification that it has been posted to your timeline.
Did you enjoy these tips? Share them!
filed in:
